Friday, October 29, 2010

Blogger's Quilt Festival - Curlicue Crush - My New Quilt and Pattern

I have been so excited to show this quilt to you!! And Thanks to Amy, I'm thrilled to be able to enter it in my first Blogger's Quilt Festival!


My New Quilt 'Curlicue Crush' - is made from Anna Maria Horner's latest fabric range - Innocent Crush. I fell in LOVE with her new range (like everyone else!!!) and wanted to design a quilt that would showcase her amazing fabric instead of chopping it up into small little pieces...


This quilt uses the traditional technique of corner to corner curved piecing... But just revamped into a funky retro design. I have loved experimenting lately with curves... there are so many amazing designs that you can create...


The Story behind this quilt?? Well, its really a story behind Quilting.....I have had a difficult year this year...In March this year I lost a child. My little baby boy, just two days old...Our family has had a hard time and Quilting has provided me with an escape. Something positive to think about. To keep my mind active... A couple months ago I started designing patterns and selling them from stores and from my blog and have been overwhelmed by the response. I feel relaxed and at peace when i sew....

So for this Quilt, I quilted it all by hand...As much as I LOVE the designing process.... Hand quilting would have to be my all time favourite. I LOVE being able to sit with my kids and family and sew... there is something therapeutic about hand sewing. I quilted in the ditch of the main bauble curlicue shapes and then emphasised this curlicue shape in the centre of each one.

My family love it and have put in their orders for this Quilt Pattern in a Christmas range...We think it looks like Hanging Christmas Baubles!!


This Quilt Pattern is available now from my shop.


Thanks so much for stopping by.... Have fun checking out all the other great Quilts from the festival....
I know I will !! xxx


Wednesday, October 27, 2010

Finished Quilts

One of my favourite things to do when i come across a new blog, is to check out their finished quilts.. I have found as i have been searching blog land...its a great way to get a feel of their creativity and style and a HUGE source of inspiration..
So for those of you who are new to my blog.... Here is a collection of my finished quilts..(and a couple quilt tops). For those of you who have been following over the last few months since the start...here's a recap. I'm also planning on making a new title at the top... Finished quilts..

Quilt Pattern Available Soon

Quilt Pattern Available here

Quilt Pattern Available here

Quilt Pattern Available here

Quilt Pattern Available here

 Quilt Pattern Available Soon


I have a NEW Quilt to show you... the sneak peek from last post - It will be my quilt for the Blogger's Quilt Festival..... Is your Quilt Ready??? Begins Friday!!! xx

Monday, October 25, 2010

Quilt Story and a Sneak Peek!

Today is a bit exciting..... 


......and ......
I thought I would show you a sneak peek of my latest project! 


ill show you more.... next post! xx

Wednesday, October 20, 2010

Busy Busy...

We have all been Really Busy in the Johnson household..
Were Selling Our House!! 
So, as you can imagine i have been busy cleaning out cupboards, tidying shelves, reorganising, staining, resealing, painting.... and getting it all ready for people to come look!...  So i thought i would take you on a tour ....
(and hopefully you will forgive me for having 7 days gaps in between the last two blog posts!!)

Our House
   
   Lounge/Dining Room

 Kitchen
 

Enclosed Deck/Entertaining Area


Formal Lounge/ Hubbies Office

My bedroom and Ensuite
 
One of the Kids Rooms - Indi's Room
 (If you look close you will see quite a few quilts scattered through out the house... But i didn't make this one in Indi's Room....That's a bought one before my quilting days)

Kids Bathroom
 Despite my busy schedule I have managed to still squeeze in precious sewing time...which has left ABSOLUTELY no time for blogging!.. I do have a new quilt top to show you soon though and lots of  little projects will be popping up here and there...Quilt Story, Ucreate Tutorial, a couple New Patterns... So don't give up on me just yet!! xx

Tuesday, October 12, 2010

New Quilt and (soon to be) New Pattern - Eden's Garden!

Spring is Here!!.....Spring would probably be my favourite season. I LOVE the warmer weather..i LOVE flowers, i LOVE getting out in the garden...so i thought what better way to celebrate Spring.... than with a New Floral Quilt!


I have a thing for flowers... and i love floral fabric.. i fell in love with this 'newish' range from Patricia Bravo called Paradise. You can purchase it here... and This fabric is amazingly soft. It is a Premium Cotton with slogan "feel the difference" and....you really can! Its just beautiful to touch.


My new Quilt uses the two different colourways in the 'Paradise' range...It measures 69 x 84"...and is named after my pretty little sister Eden.


I have always wanted to make a quilt with big flowers randomly placed on it... but I'm not really one for applique..so of course... these flowers are
all machine pieced 
together!


I've decided to hand quilt big loops coming out from the centre of the flower...out to each petal... in either lemon or pink....probably both! And hand quilt a few flowers on the Kona snow background.


This is the backing fabric I'm using with a pretty lemon solid for the binding..

'

This New Pattern 'Eden's Garden' should be ready for purchase from my shop in a couple weeks....xx
and
if your up for a Giveaway??...pop on over to Ali's Blog.. she has some Anna Maria Horner Fabric up for grabs.

Tuesday, October 5, 2010

How I Baste My Quilts....

It's sometimes interesting to see how other Quilters put their quilts together...
...so i thought id show you how i do mine...


 I lay my backing fabric out on my floor (Fabric side Face down).... I line up a selvaged edge with the lines on my floor boards and use the floor board lines as a guide....


I use 2" Masking tape and tape the Bottom left corner first. See in this picture how i line up the edge of the selvage with the join on my floor... Lining this up properly, comes in handy in the next few steps...


 I add another piece of tape...to hold the fabric firm in place... I then proceed to tape the other corners...In ORDER -  Bottom Left, Bottom Right, Top Left, Top Right pulling each corner really tight. When taping each corner, I line them up along this same join in my floor boards...


Once all the corners are done.... You will find it bows up a little in the middle between corners...... This is where the floor board join comes in really handy....Starting in the middle you begin taping the Bottom selvage edge... Pulling the selvage edge down, until it is also lined up on the same floorboard line as the corners...... Repeat with Top edge and then Left and Right sides.... 

The back of your quilt should now look like this...

Next, lay your batting on top... i try and use the fold in the batting as a guide and lay this fold along the join in my backing fabric....My favourite batting to use... is 100% Cotton, Or a Bamboo Batting... There are alot of different qualities and thicknesses out there... I use a thin batting and the best quality i can buy.


Throw your quilt top onto your batting.... I line up the centre seam in my backing fabric with the middle of my quilt. 
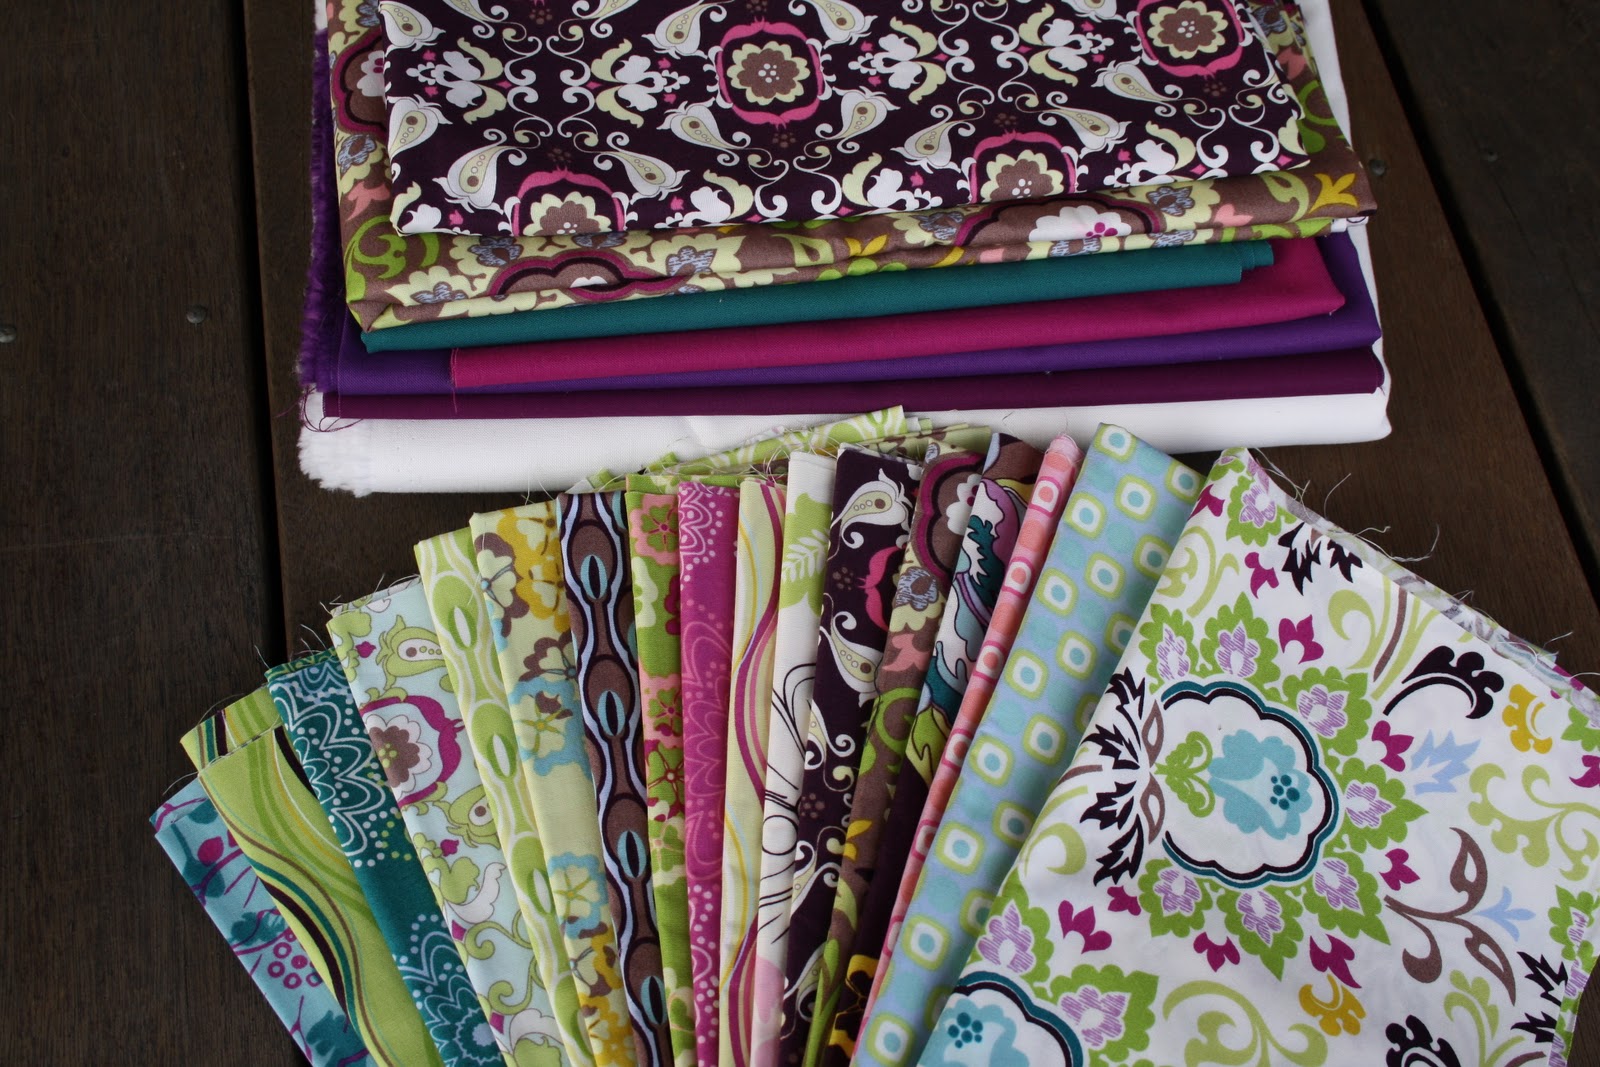
Sometimes... a pieced back works great and you may want the seam 3/4 way down or in various other positions depending on the quilt... Just remember to pay attention to where you want the seam and esp if you have a backing fabric that is directional... I made this mistake once... the backing was pinned upside down... took ages to unpin and redo!! SO be careful.....

Next, Climb onto the middle of your quilt. I like to start in the centre and smooth out all the creases. Take your time making sure it is nice and flat...


Now comes the pinning!!.... For me its a MUST to use proper angled safety pins (Cant remember the 'proper' name)... these are angled so when you put the pin into the three layers it easily pops back up through to secure in place...


I start in the middle of my quilt and with my Left hand smooth the fabric out really flat and pin with my Right hand... I place pins about 3 - 4" apart.


 I constantly smooth and pin, smooth and pin...from the middle I work out towards the edges...


Once its all pinned... I cut through the three layers, about an inch away from the edge of the quilt top....
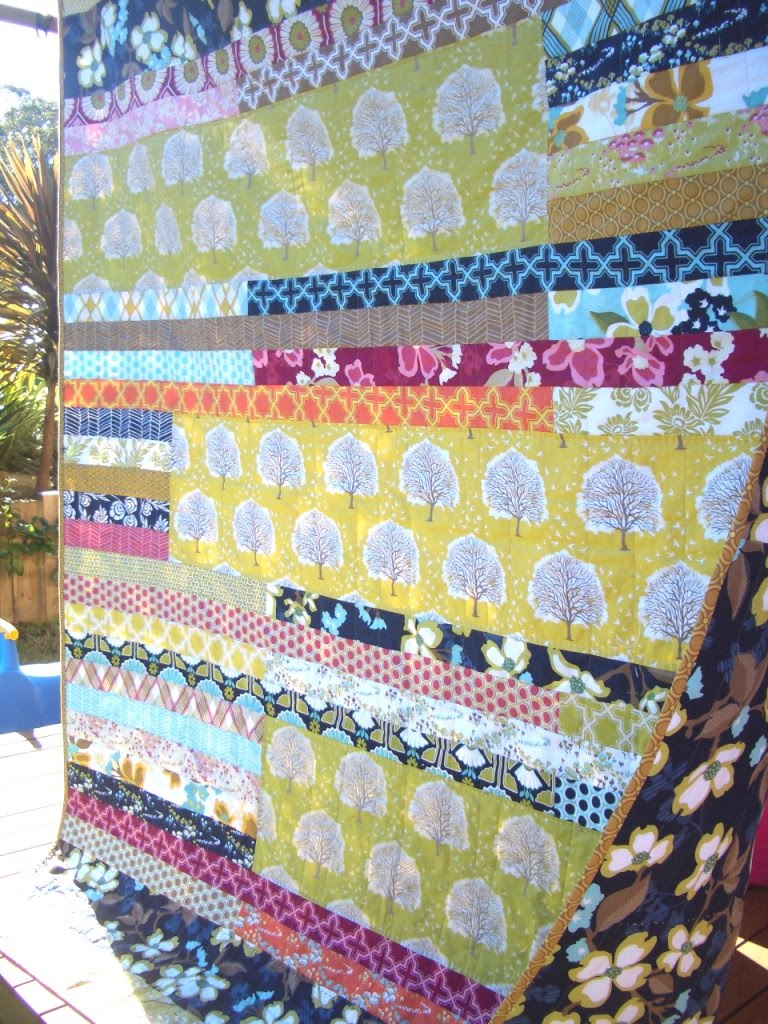
all around the edge.... It is now ready for Quilting.... mmmm yes and with this quilt...I'm a little stuck!


Everyone does baste their quilts a little different. I have learnt to do it this way through a little trial and error mixed with different techniques from a few quilt classes I took from my local quilt shop Blueberries. I have found my quilts never crease on the back... they are always perfectly smooth and flat with no bunching... this way works for me....and i Hope this helps some of you!! xxx

LinkWithin

Related Posts Plugin for WordPress, Blogger...